Capture and Record Video from Apple iPad
May 25, 2010 by Victor · 8 Comments
The new iPad by Apple, a supersized version of the iPod/iPhone, is a tablet computer that features a 9.7″ display with multitouch touch screen technology, running at a resolution of 1024×768.
Recording the entire screen would come in very handy for development, troubleshooting, training videos, demos, podcasts, and even direct broadcasts from the iPad screen.
While a native software solution to iPad screen capture is either weak or nonexistent, there is an ideal and low-cost hardware capture solution that will allow you to capture the entire contents of the screen without slowing down or otherwise altering the functionality of the Apple iPad.
This solution consists of two things: the Apple iPad dock connector to VGA adapter (pictured below), available from the Apple store ($29) and the Epiphan Systems VGA2USB ($299).
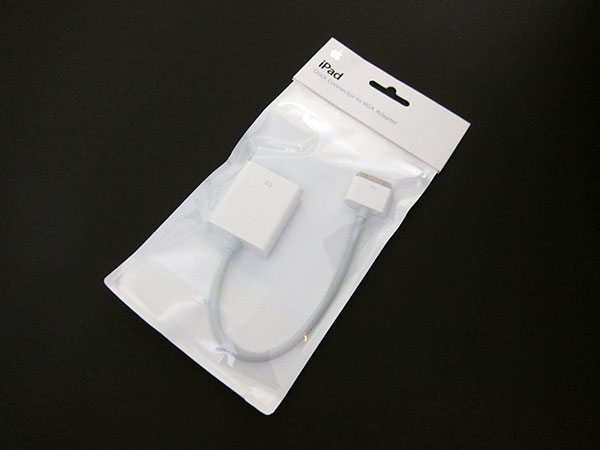
The iPad to VGA dock connector currently allows you to add a VGA port to the Apple iPad and mirror the image on the iPad’s screen on the output. In the future, Apple will add support for applications to use this external output.
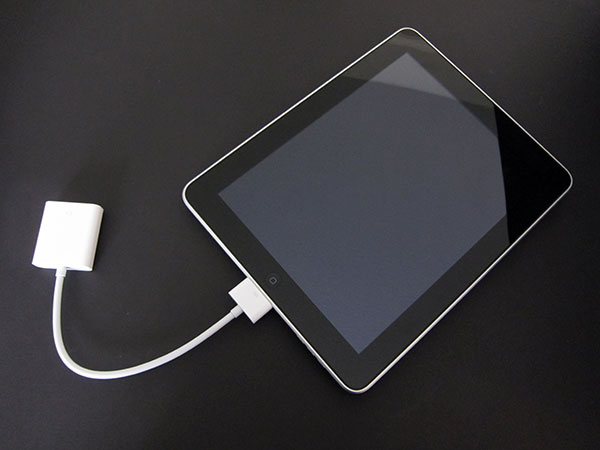
In order to record video from Apple’s iPad, we must begin by connecting the iPad to VGA adapter to the iPad, and connecting the Epiphan Systems VGA2USB to the VGA side of the adapter. A more detailed diagram is shown below:
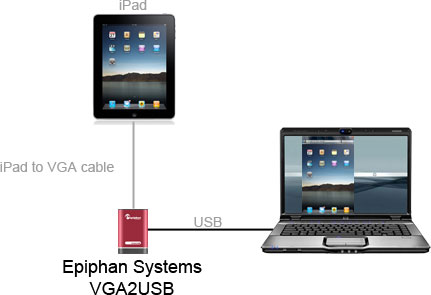
The captured video from the iPad can be recorded on the computer using free software provided by Epiphan Systems, or any other video capture software that supports external devices, such as Adobe Premiere or VirtualDub.
Furthermore, the images and video from the iPad can also be broadcast using software such as Windows Media Encoder or QuickTime Broadcaster.
More information on the VGA2USB can be obtained directly from Epiphan’s website here: http://www.epiphan.com/products/frame-grabbers/vga2usb/
An Awesome New Tool for Web Based Webpage Screenshots and Annotations
July 6, 2009 by Victor · 2 Comments
Here at ScreenCaptureNews, when it comes to software, we like everything that’s free, useful, and simple. A good example of an application that abides by those three rules would be Aviary. Think of Aviary as a tool for capturing screenshots of webpages, similar to FireShot, which we earlier reviewed.
How it works
The way it works is quite simple, just place www.aviary.com/ before the URL of the webpage that you would like to capture.
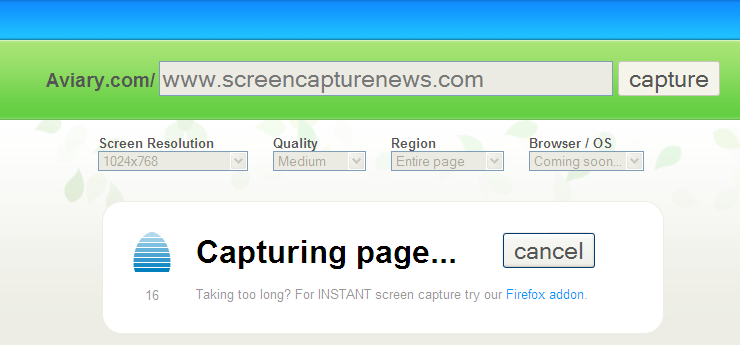
Once that is done, you will be taken to a loading page, it means that your capture was successful and the Aviary image editor is starting.
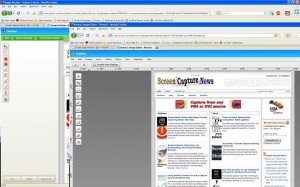
You will then be taken to a full-blown image editor, as pictured below. The features are pretty self explanatory. Once you are done editing, you may click on “save to desktop” or “save & host online,” depending on what you would like to do with your saved capture.
Advanced Screenshot Editor
The most amazing feature of Aviary is, by far, the advanced editor, pictured below. It can be accessed by clicking on “Advanced Editor” in the top right of the window.
Those that work with Photoshop will have an easy time adapting to the advanced image editor, which tries to replicate the Photoshop interface and functions with some features like layers, history, magic wand, smudge tool, liquify tool, freeform selection tool, and more. All these features definitely make this web based applet more advanced than most free screenshot editors which need to be installed. What’s more, Aviary works with all operating systems including Windows, Mac OS and Linux, and allows for direct uploading of an image to the Aviary web servers, where you can share it with others.
Conclusion
If you don’t have a webpage screenshot editing tool that you’re used to, or if you’re looking to try something new, I would definitely recommend Aviary. It’s easy to use, it’s free, and it’s packed with features that you won’t find anywhere else!
How to Take Screenshots on your iPhone or iPod Touch
As long as you have the 2.0 version of the iPhone firmware or above, the iPhone or iPod Touch does not need any special screen capture software in order to take instant screenshots of your screen. Here is how it works:
1. Hold the Home button down
2. Press the Sleep/Wake button
Your screen should now flash white. This means that the iPhone or iPod Touch has successfully captured your screen and saved it as a photo.
3. Your screenshots can be found by pressing the Photos icon.
On an iPhone, you’d have to then navigate to the Camera Roll folder. On an iPod Touch, the screen captures are saved in the Saved Photos folder.
Mini DVI, what it is and how to capture it
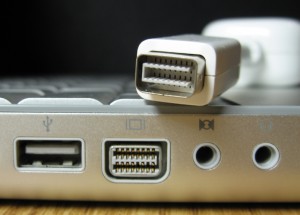
Mini DVI is a common connector found on Apple’s Macbook, Macbook Pro and Intel-based Powerbook G4 laptops that have been produced prior October 2008. A Mini DVI port can also be found on Apple’s Intel-based 1U XServe servers.
According to Apple, the creator and sole manufacturer of computers with Mini DVI ports, Mini DVI, like Mini VGA, was implemented to save space and allow for the production of smaller laptops. This, however has been disproven by other manufacturers like Dell or Toshiba which have all made notebook computers with similar sizes, form factors, and specifications to Apple’s, yet have been able to implement a full-size DVI port. The relatively steep price of the adapters manufactured by Apple to work with the Mini DVI port (over $50 for some models) hint at the real (financial) motives behind Apple’s decision to equip its computers with Mini DVI ports.
While the way that the port is named suggests that Mini DVI is just a miniature version of the full-size DVI port, the Mini DVI port actually carries three different signals:
- Single-link DVI (Digital)
- VGA (Analog)
- TV (Analog)
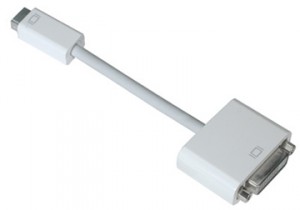
In order to convert the Mini DVI signal to any of the three signals mentioned above, a special adapter is required for each application.
1. Mini DVI to DVI (Single Link)
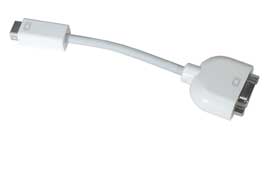
2. Mini DVI to VGA
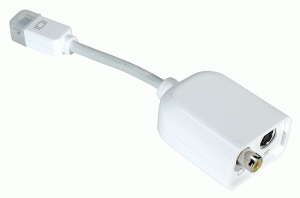
3. Mini DVI to Video (TV RCA + S-Video)
A Mini DVI to HDMI adapter is also available on the market, but, unlike the three adapters shown above, is not manufactured by Apple.
Capturing Video from the Mini DVI Port
Since the Mini DVI port can be easily converted to DVI, VGA, or TV-out using adapters manufactured by Apple, a Mini DVI signal can be captured using a DVI or VGA frame grabber or a video capture card for TV/S-Video signals. Note that, since the DVI signal is single link, Mini DVI does not support resolutions higher than 1920×1200 @ 60Hz.
Please refer to our Frame Grabber Comparison Table to evaluate possible alternatives for VGA and DVI frame grabbers.
Technical Information and Specifications
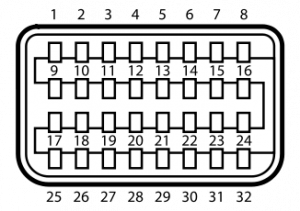
For advanced users doing custom product development based on Mini DVI, below is a pinout of the Mini DVI port. Source.
| Pin 1 | Dat2_P | Data 2 + |
| Pin 2 | Dat2_N | Data 2 - |
| Pin 3 | Dat1_P | Data 1 + |
| Pin 4 | Dat1_N | Data 1 - |
| Pin 5 | Dat0_P | Data 0 + |
| Pin 6 | Dat0_N | Data 0 - |
| Pin 7 | CLK_P | Clock + |
| Pin 8 | CLK_N | Clock - |
| Pin 9 | DGND | |
| Pin 10 | DGND | |
| Pin 11 | DGND | |
| Pin 12 | DGND | |
| Pin 13 | DGND | |
| Pin 14 | DGND | |
| Pin 15 | DGND | |
| Pin 16 | DGND | |
| Pin 17 | +5 V | |
| Pin 18 | DCC_DAT | |
| Pin 19 | spare | |
| Pin 20 | BLUE | Analogue blue |
| Pin 21 | not installed | |
| Pin 22 | GREEN | Analogue green |
| Pin 23 | not installed | |
| Pin 24 | RED | Analogue red |
| Pin 25 | Detect | |
| Pin 26 | DCC_CLK | |
| Pin 27 | spare | |
| Pin 28 | DGND | |
| Pin 29 | HSYNC | Horizontal sync |
| Pin 30 | DGND | |
| Pin 31 | VSYNC | Vertical sync |
| Pin 32 | DGND |


